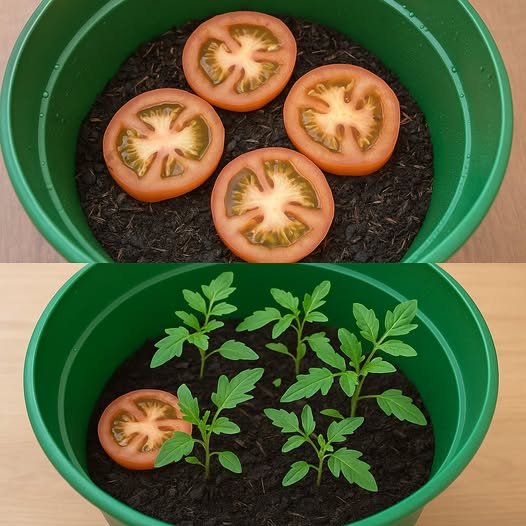
How to Successfully Plant Tomato Seedlings Outdoors for a Healthy, Productive Harvest
Transplanting tomato seedlings into your garden is an exciting milestone and a key step toward a bountiful harvest. By following a few proven steps, you can ensure your tomato plants get off to a strong start, recover quickly from transplant shock, and grow into productive, healthy plants. Here’s a comprehensive guide to planting your tomato seedlings outdoors the right way—and why each step matters.
1. Dig Deep Holes for Strong Roots
Begin by digging generous holes in your garden bed or container. The holes should be deep enough to allow you to bury about half the height of your tomato plant. This may seem unusual, but burying part of the stem encourages the plant to grow additional roots along the underground portion. These extra roots help the plant absorb more water and nutrients, resulting in a stronger, more resilient plant.
When planning your spacing, leave 10 to 12 inches (25–30 cm) between each hole. Proper spacing prevents overcrowding, reduces competition for sunlight and nutrients, and promotes better air circulation, which helps prevent disease.
2. Add Vermicompost for Nutrient Boost
Once the holes are dug, add a generous handful of vermicompost to the bottom of each one. Vermicompost is rich in essential nutrients like nitrogen, phosphorus, and potassium—all of which are vital for healthy tomato growth. It also improves soil texture and encourages microbial activity, which enhances nutrient uptake.
Incorporating vermicompost at the planting stage gives your tomato plants a nutrient-dense environment from day one, supporting early root development and vigorous growth.
3. Sprinkle Rock Phosphate for Root Strength
Next, add about one tablespoon of rock phosphate powder to each planting hole. Rock phosphate is a slow-release source of phosphorus, a crucial nutrient for root development and flowering. Tomatoes, in particular, benefit greatly from phosphorus, especially during early growth when roots are establishing.
By adding rock phosphate at the time of planting, you ensure your plants have a consistent supply of this important nutrient as they grow, setting the stage for healthy root systems and productive flowering later on.
4. Mix and Water Before Planting
After adding vermicompost and rock phosphate, use your hand or a small trowel to mix the materials into the soil at the base of the hole. This helps distribute the nutrients evenly and ensures they are readily available to the roots once planted.
Before placing your tomato seedling into the hole, water it thoroughly. Moistening the hole before planting reduces transplant shock and provides the roots with immediate access to water. This is especially helpful if you’re planting during warm or windy conditions, as it creates a more stable, welcoming environment for the roots.
5. Prepare and Plant Your Seedlings
Now turn your attention to the seedlings. Gently remove the lower leaves from each plant, leaving only the top sets of leaves intact. This allows you to bury the lower portion of the stem without any leaves touching the soil, which helps prevent fungal issues and encourages root formation along the buried stem.
Place the seedling in the hole so that about half of its height is underground. Fill in the hole with soil and gently firm it around the plant.
6. Water Again to Settle In
After planting, water the seedlings generously. This final watering helps settle the soil around the roots, eliminates air pockets that could dry out the roots, and ensures the plant has enough moisture to begin adjusting to its new environment.
Supporting Your Tomato Plants After Planting
With your tomato seedlings successfully planted, your job isn’t done just yet. Continue to water them regularly, especially during the first few weeks as they establish themselves. Keep the soil consistently moist but not waterlogged. As the plants grow, provide support using stakes, cages, or trellises to help them stand upright and promote healthy growth.
Mulching around the base of the plants can also help retain soil moisture, suppress weeds, and keep the root zone cool.
Final Thoughts
Planting tomato seedlings might seem like a simple task, but paying attention to the details can make a big difference in your harvest. Digging deep holes, amending the soil with vermicompost and rock phosphate, watering correctly, and burying part of the stem are all smart practices that reduce transplant stress and promote vigorous root development.
With a bit of care and consistency, your tomato plants will thrive—and before long, you’ll be enjoying the sweet, juicy rewards of your effort.