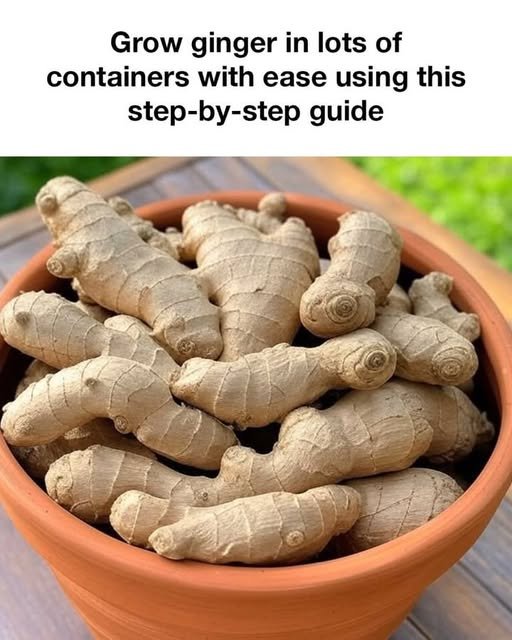
Growing ginger in containers is an excellent way to cultivate this versatile and flavorful root, even if you have limited space. Whether you live in an apartment or have a small backyard, container gardening allows you to enjoy fresh ginger year-round. Ginger, a tropical plant, thrives in warm and humid conditions, which can be easily replicated in containers. This guide will walk you through the process of growing ginger in containers, ensuring a bountiful harvest.
Benefits of Growing Ginger in Containers
There are numerous benefits to growing ginger in containers. First, it allows you to control the growing environment, ensuring optimal conditions for ginger to thrive. Containers can be moved indoors during colder months, extending the growing season. Additionally, container gardening reduces the risk of soil-borne diseases and pests, leading to healthier plants. Growing ginger in containers also makes it easier to manage the plant’s water and nutrient needs, resulting in a more productive harvest.
Choosing the Right Containers for Ginger
Selecting the right container is crucial for successful ginger cultivation. Ginger requires a container that is at least 12 inches deep and wide, providing ample space for the rhizomes to grow. Opt for containers made of materials like plastic, ceramic, or terracotta, which retain moisture well. Ensure the container has adequate drainage holes to prevent waterlogging, which can lead to root rot. Consider using a saucer to catch excess water and protect surfaces.
Selecting the Best Ginger Varieties for Container Gardening
When choosing ginger varieties for container gardening, consider those that are well-suited to confined spaces. Common culinary ginger (Zingiber officinale) is a popular choice, but you might also explore varieties like ‘Baby Ginger’ or ‘Blue Hawaiian Ginger,’ which are known for their unique flavors and adaptability to container growth. Look for disease-resistant varieties to minimize the risk of common ginger ailments.
Preparing the Soil for Container-Grown Ginger
Ginger thrives in rich, well-draining soil. Prepare a potting mix by combining equal parts of high-quality potting soil, coconut coir, and perlite or sand to enhance drainage. Incorporate organic matter, such as compost or well-rotted manure, to provide essential nutrients. The soil should be slightly acidic to neutral, with a pH between 5.5 and 6.5. Ensure the soil is loose and friable to allow the rhizomes to expand easily.
Planting Ginger in Containers: A Step-by-Step Guide
To plant ginger in containers, start by selecting healthy ginger rhizomes with visible ‘eyes’ or buds. Soak the rhizomes in water overnight to stimulate growth. Fill the container with prepared soil, leaving about an inch from the top. Place the rhizomes horizontally on the soil surface, with the buds facing upwards. Cover them with an inch of soil and water thoroughly. Position the container in a warm, humid location with indirect sunlight.
Watering and Fertilizing Ginger Plants in Containers
Ginger plants require consistent moisture, but overwatering can lead to root rot. Water the plants when the top inch of soil feels dry, ensuring even moisture throughout the container. During the growing season, feed ginger plants with a balanced liquid fertilizer every 4-6 weeks. Organic options like fish emulsion or seaweed extract are excellent choices. Reduce watering and stop fertilizing as the plants mature and prepare for harvest.
Managing Pests and Diseases in Container-Grown Ginger
Container-grown ginger is less susceptible to pests and diseases, but vigilance is still necessary. Common pests include aphids, spider mites, and mealybugs. Use insecticidal soap or neem oil to manage infestations. Ensure good air circulation around the plants to prevent fungal diseases like root rot and leaf spot. Regularly inspect plants for signs of stress or disease, and remove any affected foliage promptly.
Harvesting Ginger from Containers
Ginger is typically ready for harvest 8-10 months after planting, once the leaves begin to yellow and die back. To harvest, carefully dig around the rhizomes with your hands or a small tool, being cautious not to damage them. Remove the entire plant or harvest only a portion, leaving some rhizomes to continue growing. Clean the harvested ginger thoroughly and allow it to dry before storage.
Storing and Using Your Homegrown Ginger
Freshly harvested ginger can be stored in the refrigerator for several weeks. For longer storage, consider freezing or drying the ginger. To freeze, peel and slice the ginger, then store it in an airtight container. Dried ginger can be ground into powder for use in cooking and baking. Homegrown ginger can be used in a variety of dishes, from teas and soups to stir-fries and desserts.
Troubleshooting Common Issues in Container Ginger Gardening
Common issues in container ginger gardening include yellowing leaves, stunted growth, and poor rhizome development. Yellowing leaves may indicate overwatering or nutrient deficiencies. Adjust watering practices and fertilize as needed. Stunted growth can result from insufficient light or overcrowding; ensure the plants receive adequate sunlight and space. Poor rhizome development may be due to compacted soil or inadequate nutrients; loosen the soil and amend it with organic matter.
Conclusion: Enjoying the Fruits of Your Labor
Growing ginger in containers is a rewarding endeavor that offers fresh, flavorful ginger right at your fingertips. By following this step-by-step guide, you can successfully cultivate ginger even in limited spaces. Enjoy the satisfaction of harvesting your own ginger and experimenting with its culinary uses. With proper care and attention, your container-grown ginger will thrive, providing you with a continuous supply of this versatile spice.


